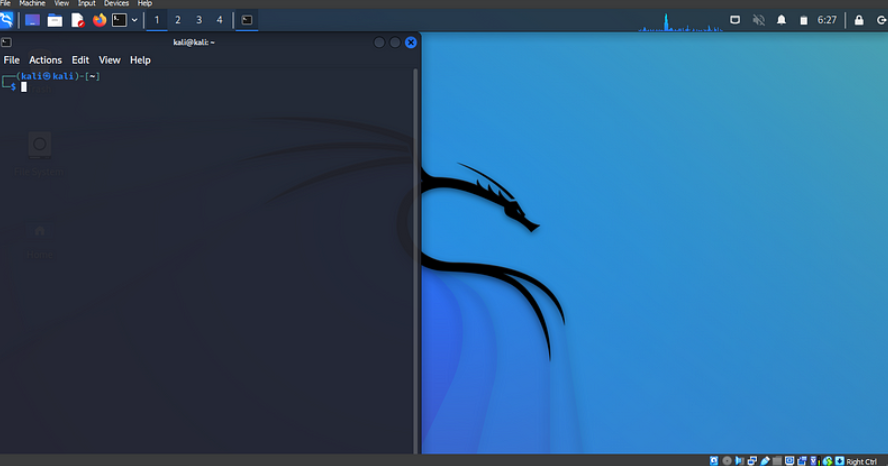
Kali 2024.2 is finally here, though a bit later than expected! The delay was due to several significant changes behind the scenes, with much of the focus on making those updates happen. The community has been a huge help in this release, contributing not just new packages but also bug fixes and updates.
Kali Linux is a Debian-based distribution packed with over 600 preinstalled tools for penetration testing. Setting up Kali Linux on a Type 2 hypervisor like VirtualBox offers the isolation and rollback capabilities needed for advanced security testing.
How to Install Kali Linux on VirtualBox
To install Kali Linux on a virtual machine, you’ll first need to download an ISO file and configure the virtual hardware, including memory, CPU cores, and hard disks.
Step 1: Start by searching for Kali Linux on the web. Kali offers several versions, including the Installer Image, Virtual Machine, and mobile versions. For home users, I recommend the Installer Image.
Step 2: Once you’ve selected the image version, Kali Linux provides ISO images for 32-bit, 64-bit, and ARM64 architectures. Click the download button on the left side to get the ISO file.
Step 3: Open VirtualBox and click ‘New’.
Step 4: Name your Kali Linux virtual machine and provide the path to the ISO file. Then, click Next.
Step 5: Select how much memory (RAM) you want to allocate to the VM. The minimum recommended for Kali Linux is 2 GB of RAM and 1 CPU core. Click Next once you’ve finished setting up the hardware.
Step 6: Create a virtual hard disk for your new VM. It’s recommended to allocate at least 25 GB of space. You can also use an existing virtual hard disk or skip adding one. Click Next when you’re ready to proceed.
Step 7: Review the summary and click ‘Finish’.
Step 8: Your Kali Linux VM will now appear in VirtualBox Manager. Select it and click on ‘Settings’.
Step 9: Under the ‘Advanced’ tab in the ‘General’ section, change the Shared Clipboard and Drag and Drop settings to ‘Bidirectional’. This allows file exchange between the host and guest machine.
Step 10: Next, select ‘Network’ from the left menu. Change the “Attached to” field to ‘Bridged Adapter’. Then click OK to return to the main window.
Step 11: Start the VM by clicking ‘Start’ in the top-right corner of VirtualBox Manager.
Congratulations! You’ve successfully created a Kali Linux VM in VirtualBox. When you click ‘Start’ on VirtualBox Manager, you’ll need to install and set up the operating system. Here’s how:
Step 1: Once the VM starts, the Kali Linux installer menu will appear. Choose ‘Graphical Install’.
Select your default language for the installation process and system setup. Then, pick your country from the list or choose another. Finally, decide on the keyboard layout.
Step 2: Configure the host and user settings. In the network configuration section, enter a system hostname.
Step 3: Choose a domain name for the OS to identify the VM in a network. If the VM isn’t part of a large local network, this step isn’t necessary.
Step 4: Create a user account by entering the full name, username, and a strong password.
Step 5: Set up the time zone and partition the disk. Proper disk partitioning is key to a smooth OS function. For disk partitioning, choose “Guided Partitioning” and then select “All files in one partition.” A summary of your partitioning settings will appear—click Continue to proceed.
Step 6: Choose the software you’d like to install with Kali Linux.
Step 7: Once installation is complete, the system will prompt you to restart, and your Kali Linux setup will be ready to go!
Conclusion
Installing Kali Linux on a virtual machine is a straightforward process that saves time and minimizes the risk of errors. It’s an efficient way to set up a Kali Linux environment on VirtualBox, perfect for penetration testing and security assessments. This guide has walked you through the steps for installing Kali using the official ISO and running the OS from a pre-built VirtualBox image.


