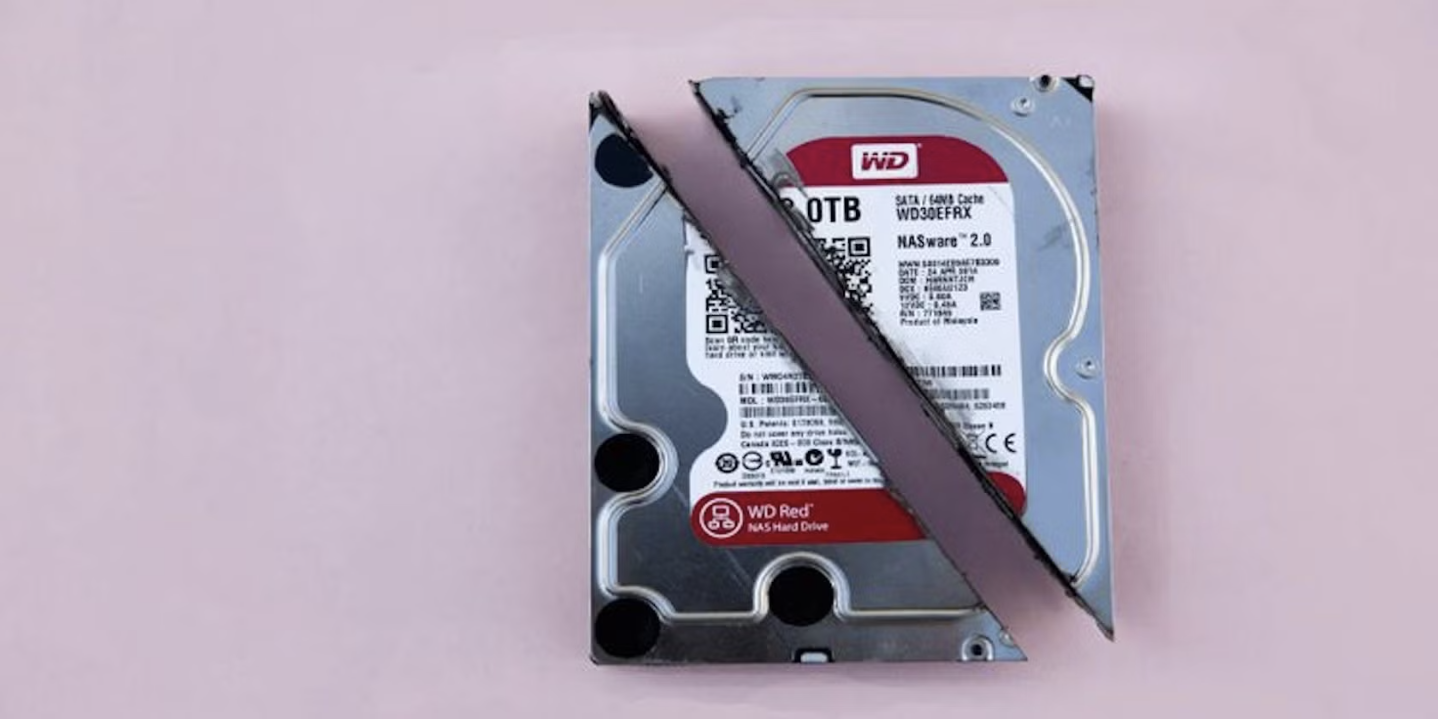
Although RAID technology is known for its reliability in data storage, there are still situations where data recovery might be needed. For example, if the RAID controller fails, the file system becomes corrupted, or you accidentally delete important files.
If you’re facing data loss and plan to try a DIY approach to recover your data, these tips will be helpful.
- Label the Drives When Removing Them When you take drives out of a NAS device or disconnect them from a RAID controller, be sure to label them according to their original position in the setup. You can use sticky notes or a permanent marker for labeling. While this might not directly help with data recovery using software, it will be essential if you need to return the drives to their original configuration or try other recovery methods. Without proper labeling, you’ll end up with a bunch of drives that are difficult to manage.
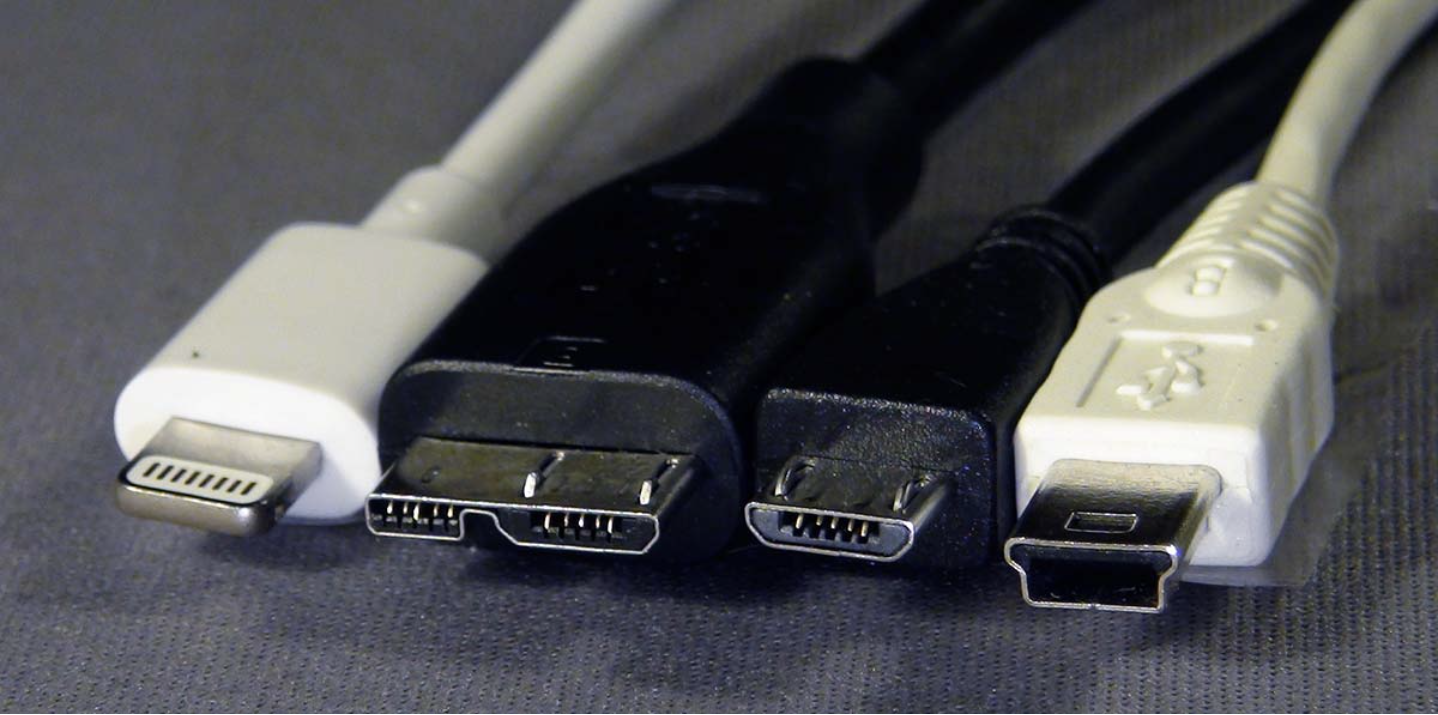
- Connect the Drives Directly For the best results, data recovery software needs direct access to the drives. Therefore, it’s important to unplug the drives from the controller and connect them directly to your PC. Use SATA cables to connect the drives to the motherboard or USB-to-SATA adapters if needed. However, connecting the drives directly to the motherboard is the best option as it ensures better software performance and more stability. USB connections can cause freezing, especially if there are bad sectors on one or more drives. Additionally, faulty USB-to-SATA adapters can lead to inconsistent results, making it hard to figure out whether issues are due to the drives or software problems.
- Check the Drives’ Health Before running the RAID recovery software, it’s a good idea to check the health of your drives using a diagnostic tool. There are many free tools available that can help you assess the condition of your drives. This step is important because it allows you to identify any physically damaged drives and either exclude them from the recovery process or create a disk image file. If you include a faulty drive in the recovery process, it can significantly slow down the software or lead to incorrect recovery results.
- Use the “Save State” Feature RAID arrays can store large amounts of data, sometimes several terabytes, so the recovery process can take a long time—sometimes days. If the process is interrupted, like due to a power outage, you’ll have to start over. Many recovery tools include a “save state” function that allows you to pause and resume the recovery from where you left off. Make sure to save the state regularly during the process to avoid losing progress.
- Disable Automatic Restart This tip ties into the previous one. During the recovery process, it’s common for users to wait for days for the process to finish. However, automatic restarts or Windows updates can interrupt the recovery. To avoid this, go into your system settings and disable automatic updates and restarts before starting the recovery process.
Bonus – Contact Tech Support if Needed While there are some DIY RAID recovery tools available, many are not free. Paid software can cost between $70 and $250, but some free tools, like ReclaiMe Free RAID Recovery, can also help. If you’re not satisfied with the results, don’t hesitate to reach out to tech support. Many data recovery companies offer remote assistance, where a technician can guide you through the recovery process and help set up the software correctly.


